Try Falco on Linux
In this scenario, you will learn how to install Falco on an Ubuntu host, trigger a Falco rule by generating a suspicious event, and then examine the output.
This activity aims to give you a quick example of how Falco works. After you complete it, you should be able to move on to trying falco on kubernetes or spend some time reading some additional resources.
Prerequisites
This lab is based on installing Falco using the kernel module on Ubuntu.
The scenario has been tested using VirtualBox and Lima (for MacBooks running Apple Silicon).
While this tutorial may work with Ubuntu running on a cloud provider or another virtualization platform, it has not been tested.
VirtualBox setup
The following steps will set up a VirtualBox virtual machine running Ubuntu 20.04.
Install VirtualBox and Vagrant according to the instructions appropriate for your local system.
Issue the following commands from the command line to create an Ubuntu 20.04 virtual machine.
    vagrant init bento/ubuntu-20.04
    vagrant up
- Log into the newly launched virtual machine and continue to the Install Falco section below (the default password is vagrant).
vagrant ssh
Lima setup for Apple silicon (M1/M2)
This section explains how to create an Ubuntu 22.04 VM on Apple computers running M1 silicon (as opposed to Intel).
If you are unsure what processor your Apple machine is running, you can find out by clicking the Apple icon in the upper left and choosing "About this Mac". The first item listed, Chip, tells you what silicon you're running on.
Install Homebrew according to the project's documentation.
Use Homebrew to install Lima.
brew install lima
- Create an Ubuntu 20.04 VM with Lima.
limactl start --name=falco-quickstart template://ubuntu-lts
- Shell into the Ubuntu VM, and once you're in the VM, continue to the Install Falco section.
limactl shell falco-quickstart
Install Falco
Regardless of which setup you used above, this section will show you how to install Falco on a host system. You'll begin by updating the package repository. Next, you'll install the Linux headers and the dialog package. Then you'll install Falco and ensure it's up and running.
Set up the package repository
- Add the Falco repository key.
    curl -fsSL https://falco.org/repo/falcosecurity-packages.asc | \
    sudo gpg --dearmor -o /usr/share/keyrings/falco-archive-keyring.gpg
- Add the Falco repository.
    sudo bash -c 'cat << EOF > /etc/apt/sources.list.d/falcosecurity.list
    deb [signed-by=/usr/share/keyrings/falco-archive-keyring.gpg] https://download.falco.org/packages/deb stable main
    EOF'
- Read the repository contents.
sudo apt-get update -y
Install the Linux headers and dialog
- Install the Linux kernel headers, dkms, and make which are required to compile the Falco driver and dialog which is used by the Falco installer.
sudo apt-get install -y dkms make linux-headers-$(uname -r) dialog
Install Falco
- Install the latest Falco version.
sudo apt-get install -y falco
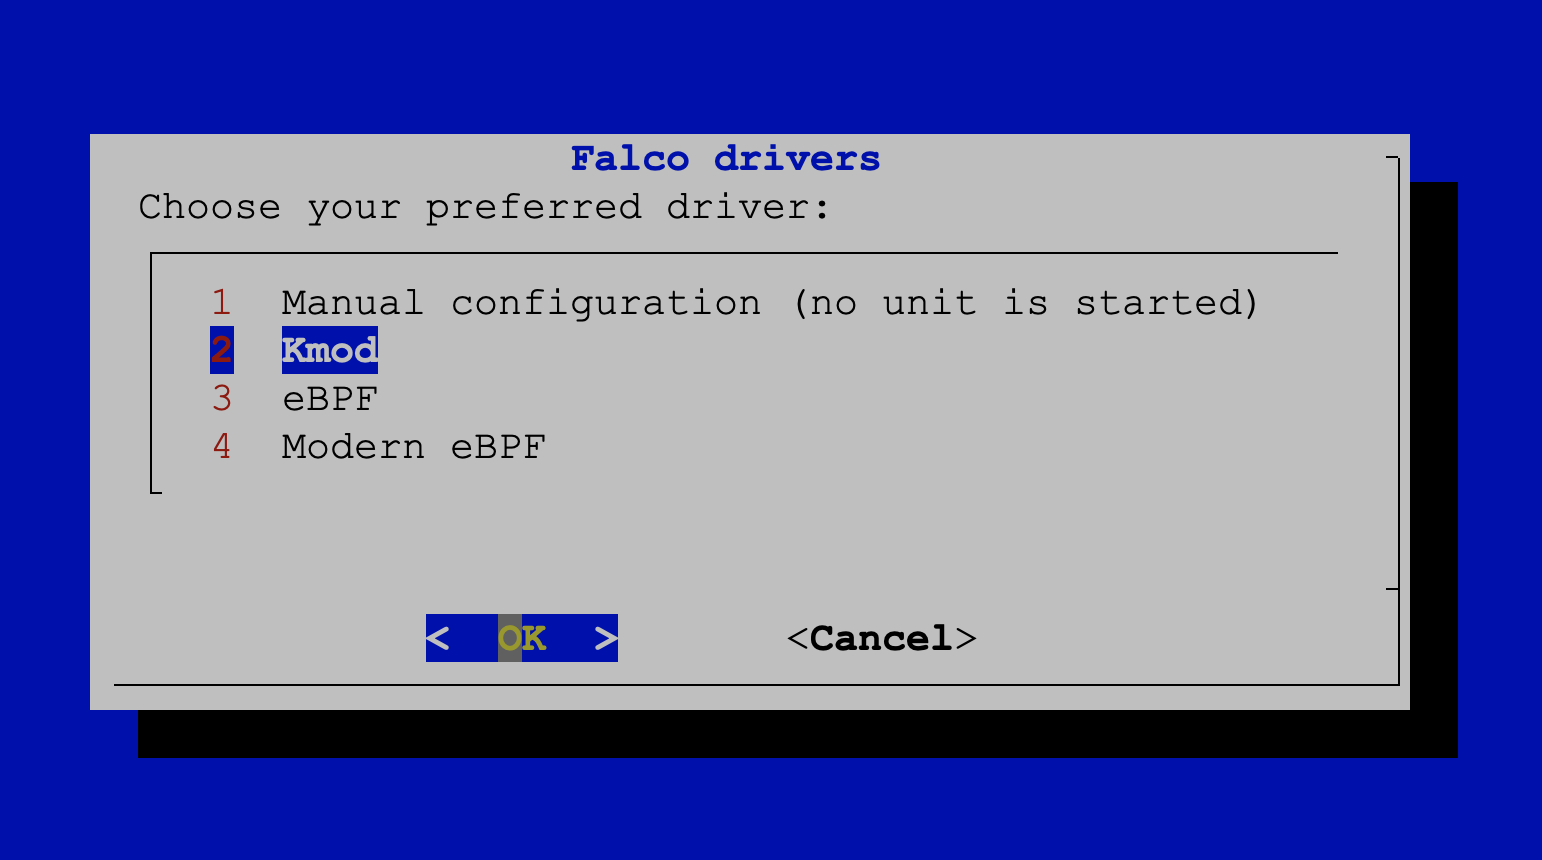
When prompted, choose the Kmod option. This will compile the Falco module for your specific kernel version.

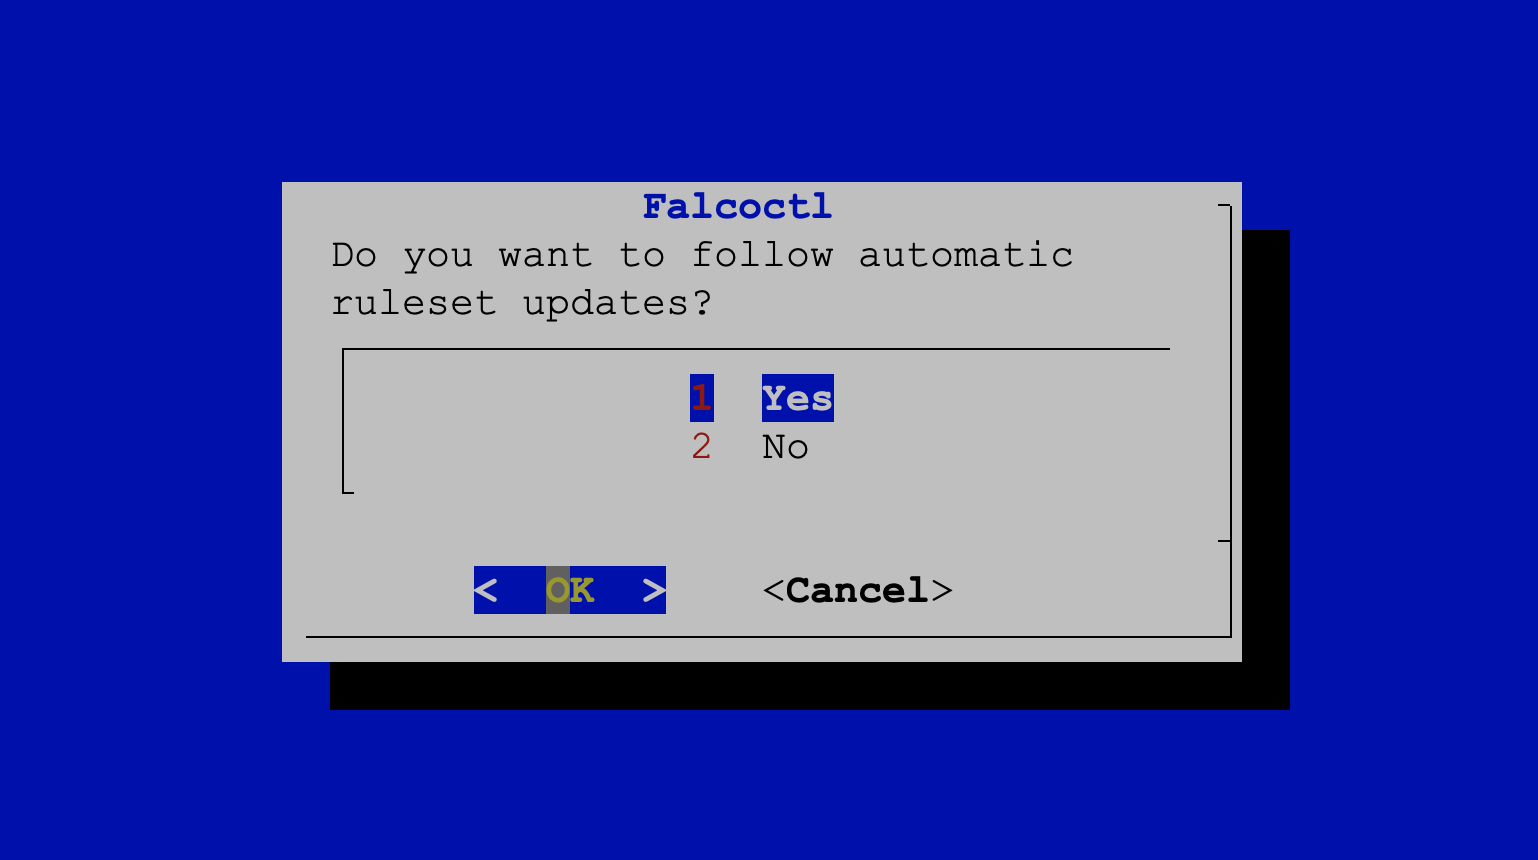
When prompted, choose Yes. Although we won't use the functionality in this exercise, this option allows Falco to update its rules automatically.

Wait for the Falco installation to complete - this should only take a few minutes.
Verify Falco is running
- Make sure the Falco service is running.
sudo systemctl status falco
The output should be similar to the following:
● falco-kmod.service - Falco: Container Native Runtime Security
     Loaded: loaded (/lib/systemd/system/falco-kmod.service; enabled; vendor preset: enabled)
     Active: active (running) since Wed 2023-01-25 10:44:04 UTC; 12s ago
       Docs: https://falco.org/docs/
   Main PID: 26488 (falco)
      Tasks: 9 (limit: 2339)
     Memory: 13.1M
     CGroup: /system.slice/falco-kmod.service
             └─26488 /usr/bin/falco --pidfile=/var/run/falco.pid

Jan 25 10:44:04 ubuntu systemd[1]: Started Falco: Container Native Runtime Security with kmod.
Jan 25 10:44:04 ubuntu falco[26488]: Falco version: 0.34.1 (x86_64)
Jan 25 10:44:04 ubuntu falco[26488]: Falco initialized with configuration file: /etc/falco/falco.yaml
Jan 25 10:44:04 ubuntu falco[26488]: Loading rules from file /etc/falco/falco_rules.yaml
Jan 25 10:44:04 ubuntu falco[26488]: Loading rules from file /etc/falco/falco_rules.local.yaml
Jan 25 10:44:04 ubuntu falco[26488]: The chosen syscall buffer dimension is: 8388608 bytes (8 MBs)
Jan 25 10:44:04 ubuntu falco[26488]: Starting health webserver with threadiness 2, listening on port 8765
Jan 25 10:44:04 ubuntu falco[26488]: Enabled event sources: syscall
Jan 25 10:44:04 ubuntu falco[26488]: Opening capture with Kernel module
See Falco in action
Generate a suspicious event
- There is a Falco rule that is designed to trigger whenever someone accesses a sensitive file (of which, /etc/shadow is one). Run the following command to trigger that rule.
sudo cat /etc/shadow > /dev/null
Exmamine Falco's output
One of the endpoints that Falco can write output to is syslog. There are multiple ways to examine the system logs, but we have featured two for our exercise: using journalctl and simply using cat on the log file.
Using journalctl
- Run the following command to retrieve Falco messages that have been generated with a priority of
warning:
sudo journalctl _COMM=falco -p warning
You should see output similar to the following:
    ...
    Jan 25 10:52:54 ubuntu falco: 10:52:54.144872253: Warning Sensitive file opened for
    reading by non-trusted program (user=root user_loginuid=-1 program=cat command=cat
    /etc/shadow pid=27550 file=/etc/shadow parent=bash gparent=kc-terminal ggparent=bash
    gggparent=systemd container_id=host image=<NA>)
    ...
Using /var/log/syslog
- Log messages describing Falco's activity are logged to syslog. Run the following command to retrieve Falco logs:
sudo grep Sensitive /var/log/syslog
You should see output similar to the following:
    ...
    Jan 25 10:52:54 ubuntu falco: 10:52:54.144872253: Warning Sensitive file opened for
    reading by non-trusted program (user=root user_loginuid=-1 program=cat command=cat
    /etc/shadow pid=27550 file=/etc/shadow parent=bash gparent=kc-terminal ggparent=bash
    gggparent=systemd container_id=host image=<NA>)
Cleanup
Remove the Lima virtual machine
If you wish, remove the Lima virtual machine
limactl delete falco-quickstart --force
Remove the Virtualbox virtual machine
If you wish, remove the Virtualbox virtual machine
vagrant destroy
Be sure you are in same subdirectory as the Vagrantfile
Congratulations, you finished this scenario!
Check out other items in our Getting Started section, including installing Falco on Kubernetes or learning more about Falco's architecture and features in the additional resources section.
Was this page helpful?
Let us know! You feedback will help us to improve the content and to stay in touch with our users.
Glad to hear it! Please tell us how we can improve.
Sorry to hear that. Please tell us how we can improve.